Homemade Oat Milk (4 Ingredients, 5 Minutes)
No soaking required, four ingredients, five minutes — homemade oat milk is substantially cheaper than the store-bought version and contains none of the additives and stabilizers found in commercial oat milks. The technique is simple: blend cold water with rolled oats, strain, season. The cold water and no-soak method are both key to preventing the slimy texture that many homemade oat milk recipes produce.
Ingredients
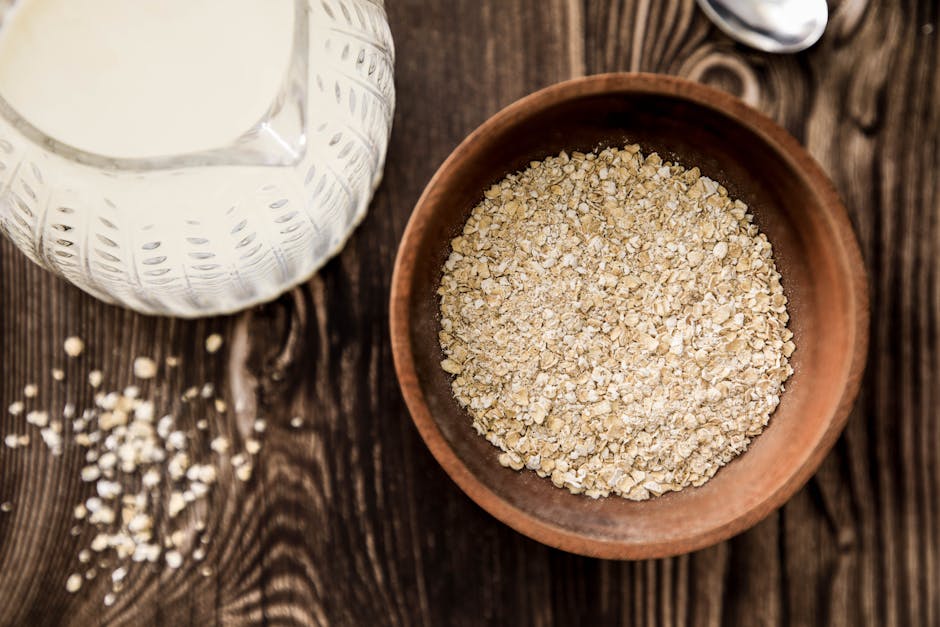
- 1 cup (90 g) rolled oats (old-fashioned — not quick oats, not steel-cut)
- 4 cups (960 ml) cold water (the colder the better)
- 1–2 tablespoons maple syrup or agave (optional — leave out for unsweetened)
- ½ teaspoon vanilla extract (optional)
- Pinch of salt
Method
- Don’t soak the oats. This is the critical step most recipes get wrong. Soaking the oats breaks down the starch into a gelatinous texture that produces a slimy oat milk. Use dry oats directly from the bag.
- Blend quickly. Add oats, cold water, maple syrup, vanilla, and salt to a blender. Blend for 30–45 seconds — no longer. Over-blending breaks down more starch and produces a slimier result.
- Strain immediately. Pour the blended mixture through a nut milk bag, a clean cheesecloth, or a fine-mesh strainer lined with a thin kitchen towel. Strain without squeezing or pressing the pulp — just let gravity do the work. Squeezing the pulp forces starch through and makes the milk thick and viscous.
- Taste and adjust. If you want it sweeter, add more maple syrup. If using plain, unsweetened oats, it may need a little more salt.
- Refrigerate. Pour into a sealed bottle or jar. Refrigerate for up to 5 days. Shake before using — separation is normal and expected.
Tips for Non-Slimy Oat Milk
Cold water only. Room temperature or warm water activates the starch in oats and produces slimier milk. The fridge-cold water helps keep the starch intact.
30–45 second blend max. Extended blending breaks down more starch. Quick blend, strain immediately.
Don’t squeeze the bag. Gravity-strain only. The starch that makes oat milk slimy is concentrated in the pulp — squeezing forces it into the milk.
Shake before use. Homemade oat milk separates in the fridge — the oat solids sink. Always shake the bottle before pouring.
Barista-Style Oat Milk
For oat milk that froths well for coffee (like Oatly Barista):
Add 1 tablespoon of coconut oil or sunflower oil to the blender. The extra fat improves frothing and produces a creamier, more stable milk. For barista use specifically, use this higher-fat version — plain oat milk doesn’t froth as well.
Variations
Unflavored/unsweetened: Skip the maple syrup and vanilla. Add only a pinch of salt. This version is most versatile for savory cooking.
Chocolate oat milk: Blend in 2 tablespoons of cocoa powder and 2 tablespoons of maple syrup. Strain as usual.
Cinnamon oat milk: Add ¼ teaspoon ground cinnamon and 1 tablespoon maple syrup.
FAQ
Why is my oat milk slimy? Almost always one of: soaked oats, warm water, over-blending, or squeezing the pulp during straining. Review all four. Cold water + dry oats + short blend + gravity strain = non-slimy milk.
What can you do with the oat pulp? The strained oat pulp can be added to: overnight oats, smoothies, oatmeal (add a tablespoon), muffin or pancake batter, or compost. It’s not waste.
How long does homemade oat milk last? 4–5 days in a sealed container in the fridge. It will smell sour if it’s turned — trust your nose.
Is homemade oat milk as nutritious as store-bought? Commercial oat milks are often fortified with calcium, vitamin D, and B12 — homemade oat milk is not. For nutrition purposes, fortified commercial oat milks are preferable. Homemade is a good option for cooking, coffee, and reducing packaged waste.
See the homemade almond milk for a nut-based plant milk alternative. Browse all vegan drinks and plant milks at the drinks hub.